Sewing Time!!
Thursday, February 2, 2012
 Do you love to sew? Now is a great time to get 58% off some Hadley Grace Designs Patterns. Go check them out here.

 |
 |
 |
 |
 |
 |
 |

Do you love to sew? Now is a great time to get 58% off some Hadley Grace Designs Patterns. Go check them out here.
**Don't forget to enter the Shabby Apple Giveaway HERE closes on Monday Dec 12th.
I recently tested out a pattern for Baby Blvd. Remember it here??
Super cute shop with fun patterns and even already made items if you just don't feel like sewing...or can't.
This was made from her Scripture Tote Pattern: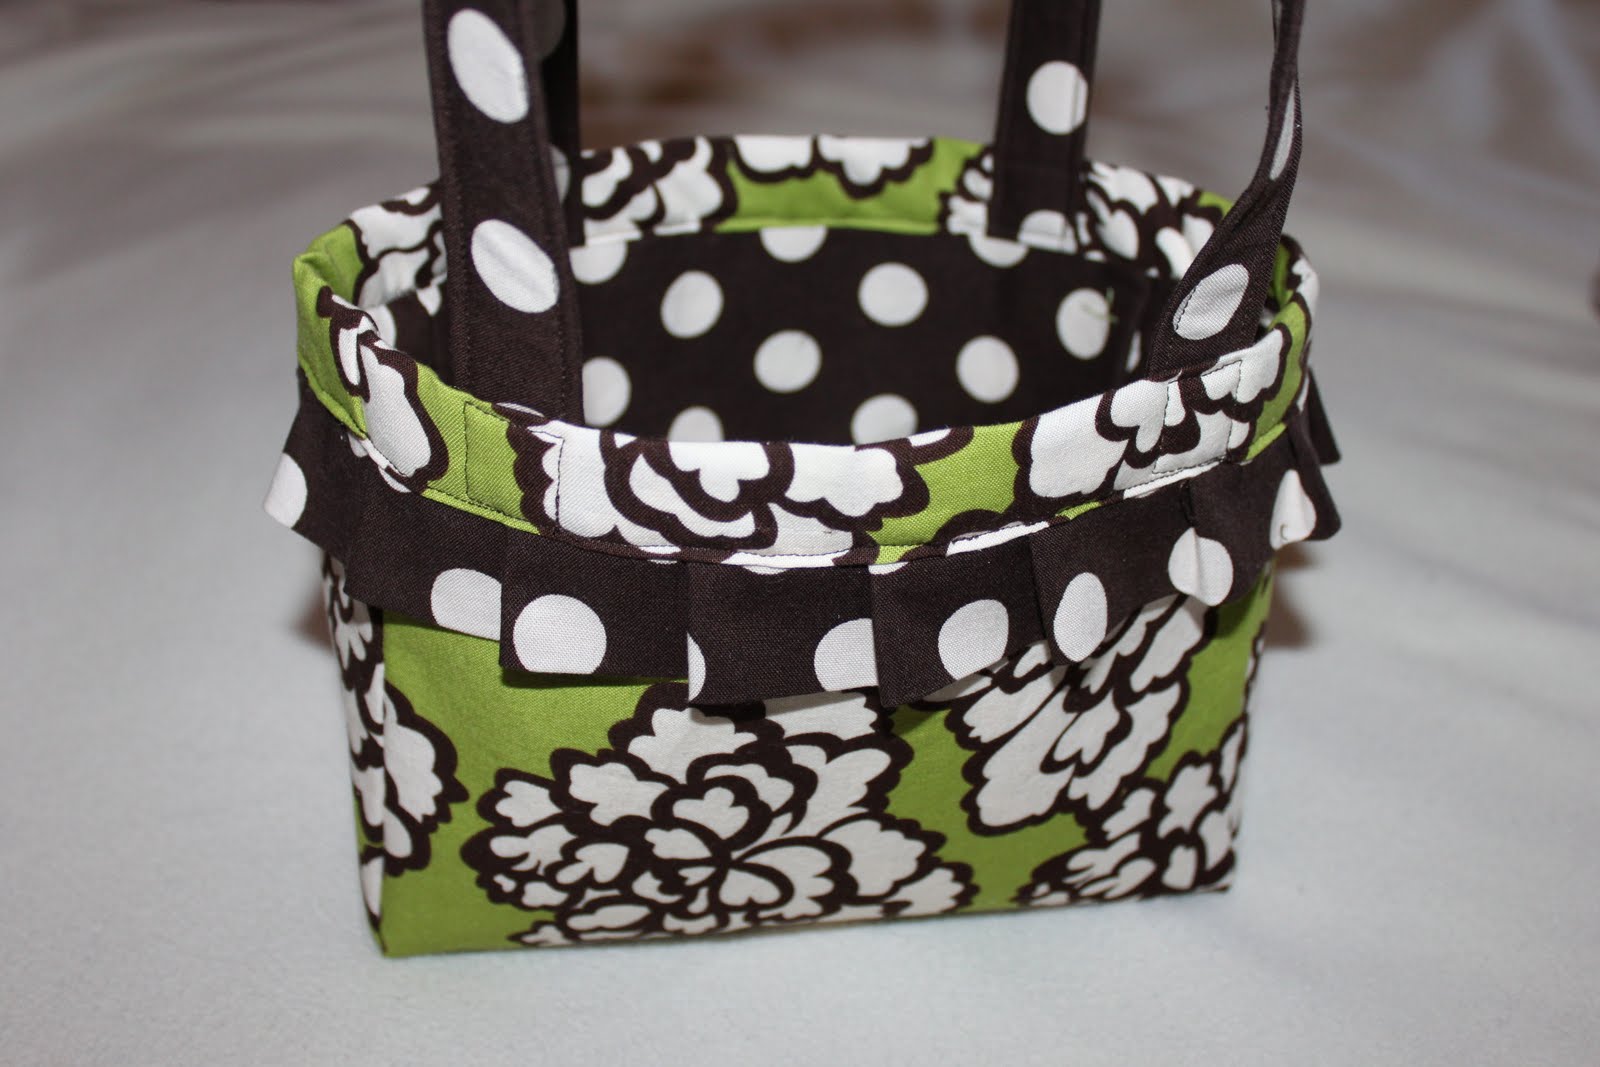

 Super cute and even has an option to leave off that darling ruffle if it just isn't your thing....hey, it might not be! It went pretty fast and was easy to follow. Diagrams galore!
If you are looking for a unique gift for Christmas or a baptism, this is a great pattern to try out! Or just make one for yourself and doll up your scriptures! I am thinking about just using it as a small bag. Love this fabric so much I don't think it should be limited to Sunday!! Maybe I will have to make a skirt to match now....
 Trying to stay warm this winter? How about trying out the Fleece Ear Warmer Pattern by Hadley Grace Designs.
 Its cheap and includes a TON of instructions to make your Ear Warmer unique. It also comes with sizes baby to adult so you can outfit the whole fam from one pattern. Pretty cool.
Happy Sewing!!
 Know a little girl that would love a pair of ruched leggings?
 They are fun and easy to make!
 All of these styles are included in the Hadley Grace Designs Pattern. Go check it out!!
I recently tested out a pattern for Baby Blvd. Have you heard of that shop? It is SO cute!! She offers some fun PDF Patterns like these: But she also offers already made items too for those that can't sew or just don't feel like it!!
She asked me to review a few patterns for her. I reviewed the Regular Quad Scripture Cover Pattern.
I made two of them during one naptime. I think it might have taken just as long to cut them out as it did to sew them. I love projects that go fast! The pattern was really easy to follow.
 She has great diagrams and pictures to help you along each step of the way. They seriously flew together! If you are looking for a unique gift for Christmas or a baptism, this is a great pattern to try out! Or just make one for yourself and doll up your scriptures!
I am also going to review her Scripture Tote Pattern so stay tuned!
Anyone have a bunch of fabric scraps? If so, this pattern is for you: Fabric Scrap Tutu PDF Pattern
 Get it for $3 today only at Hadley Grace Designs!!


 Hadley Grace Designs is having a THREE DAY SALE!!! In honor of my new sweet baby girl!
 Sale goes through FRIDAY, OCT 28th at 1pm EST.
 Go check out our facebook page for baby pics too!!
 Go here and snatch up a great deal on a pattern!

I just love sewing patterns!!! Happy Sewing!!!
Hadley Grace Designs is a sponsor of my blog and has some adorable new patterns in the shop:
Read more...
Recently I attempted to make my own bias tape. I know. Deep breaths. haha I just was not excited about any of the plain colored bias tapes out there to purchase. I knew that making my own could give me so many more coordinating fabrics and therefore a cuter finished product. So I decided I could do it. I would make my own. So here is your fabric. The selvage edge is the edge that is more of a straight "finished" edge. The raw cut edge is where they cut your fabric at the fabric store. The bias is where you want to cut your bias tape on. It has a little more give in the grain of the fabric and can more easily be worked around curves and edges in fabric. I will show you how to cut your fabric so the strips are all cut on the bias.
 I am using a 1/2 yard of fabric in my examples. Fold a right triangle at one end of your fabric and cut along that folded crease.
 Here is your triangle cut. I have named each side to make it easier for you to see where to lay your fabric in the next steps to sew it together.
 Move your triangle to the other end of your fabric.
 Now put your triangle right sides together with the fabric. You are going to sew along edge B about 1/4 inch.
 Iron your seam to one side or the other. Now you should have a parallelogram shape.
 For 1/2 inch bias tape like we are making, you are going to start by drawing your lines parallel to the ends every 2 inches.
 Here are all of your drawn lines. If you finish at the end and there is a little excess left over, just cut it off.
 Now this next part looks tricky. It is all twisted but really what you are doing is taking one of your pointed ends and lining up the next lines with the lines on the opposite end. Make sure your fabric is going right sides together when you are doing this. Now you are just going to keep lining the next sets of lines up with one another. Pin as you go along.
 You will end up with this weird twisted thing like I have in the picture above.
 Now sew along this pinned edge 1/4 inch seam.
 Here it is all straightened out after it is sewn.
 Iron your seams flat now. It will be a twisted around the fabric seam that you will want to iron.
 Now go back to the first pointed edge that was not lined up with the other side. This is where you will begin cutting. Just keep cutting around and around until it all of your lines are cut into one continuous strip.
 Here is my VERY long strip of fabric. It makes a LOT of bias tape. I think about 9 yards compared to 3 yards of the packaging you buy at the store.
 Now if you have a bias tape maker (or want to buy one) they are about $7-12 on Amazon or at Joann's (maybe use a coupon). You need to buy the 1 inch version in order to get 1/2 inch double fold bias tape. Then you would just insert your strip into that handy gadget and iron as you go. It is pretty slick and very fast!
 Or you can do it the old fashioned way and iron your strip in half first so you have a crease down the center of your strip.
 Then iron one side into the middle, just a tiny bit less than halfway.
 Go ahead and iron the other side into the center just a little less than halfway as well.
 Once both sides are ironed into the center, you are ready to iron it in half.
 Here it is being ironed in half. Usually bias tape has one side that is about 1/16 inch or so wider than the other. This makes it easier to "catch" it in your sewing when you are working on a project. Go ahead and do this as well if you want.
 Then once your bias tape is all ironed in half, get a piece of cardboard and have the hubby wrap it around it...or you could do it too. haha
This bias tape will last a LONG time and it is really not hard to make. Grab a Diet Pepsi or your drink of choice, put on a good sitcom or movie and get ironing!!
If you have any other questions on how to do this...feel free to ask. Here are also a few tutorials I found online that may be helpful as well:
Read more...


 Posts
All Comments