Dresses from Shabby Apple
Showing posts with label Birthdays. Show all posts

Artist Art Smocks

Tuesday, April 26, 2011

Once I decided to do an artist theme for my little guy's birthday party, I knew I had to have some art smocks for each of the guests. Because it would be a fun birthday favor, but it would also save me from worrying about them ruining their clothes with all the artsy things we were going to be doing. I whipped up these fun smocks with two different styles: boys and girls.
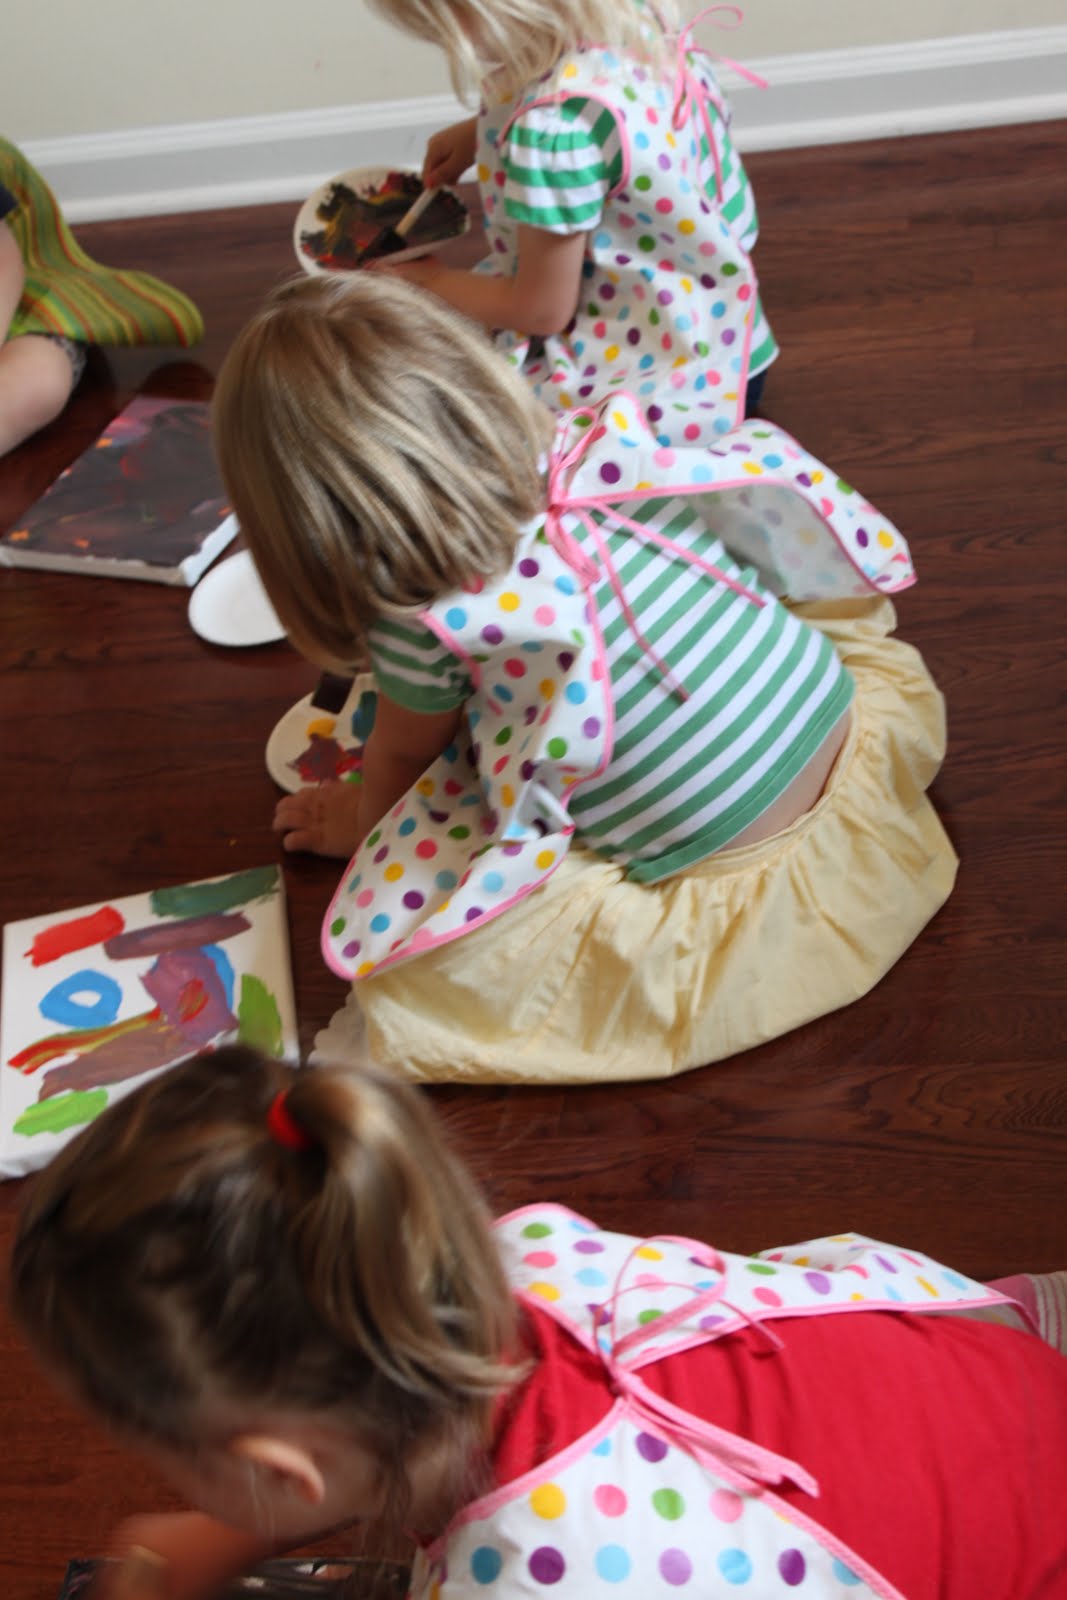
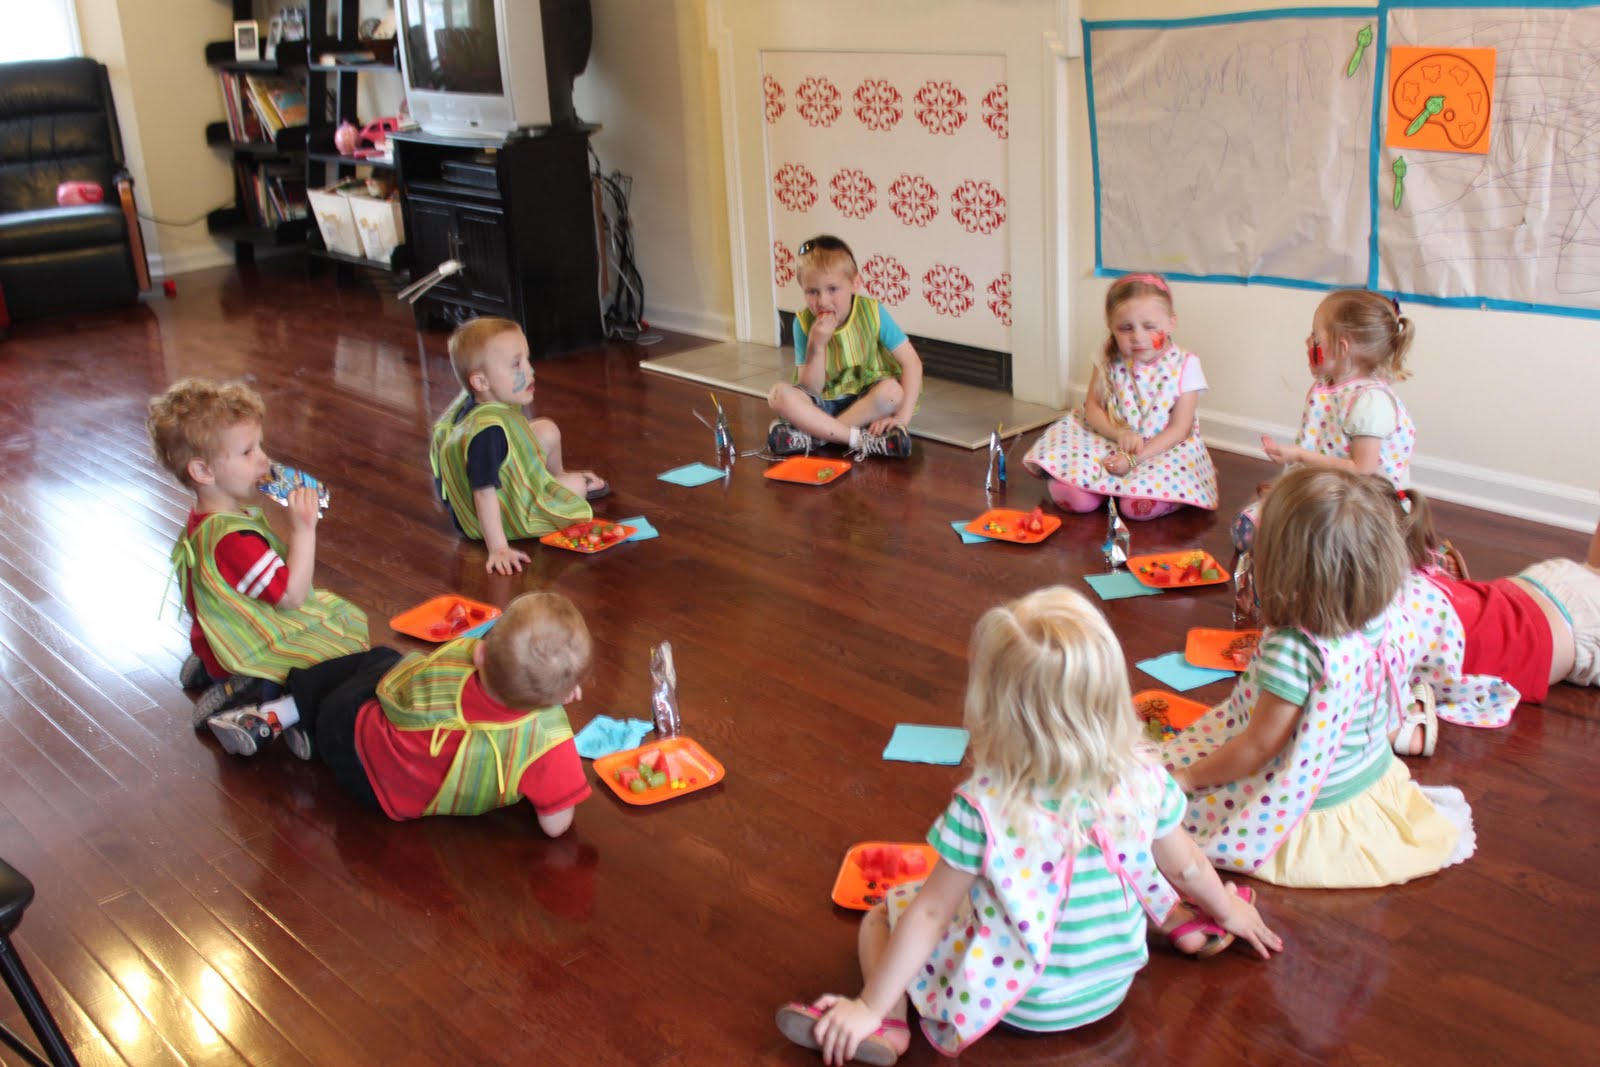
They were a HUGE hit with the kids (and the parents)!!


To purchase the art smock pattern, go to Hadley Grace Designs.
Happy Sewing!!!

Read more...

Party Decor Part 4

Monday, April 25, 2011

The table.
I know this can be as simple or as detailed as you want. Since our party was really just for the kiddos not really adults too, I wanted to have it be fun but not too much detail since 4 year olds aren't really used to noticing those types of things too much!
I went for some colorful cupcake toppers. I bought sucker sticks at Michael's and some colorful cardstock. I used a 2 inch scalloped punch to cut the cardstock out with. Then I used some of the designs I got from Lettering Delights along with some photoshop designs and created some cupcake toppers that say Happy Birthday Hudson around the edges and have a fun design in the middle.
I added some little table tents to showcase the food.
Plus it helped add more pizazz to the table. I got those small buckets from Target in the One spot. The perfect colors for our party!
It was so fun to create some little extras for the table. It made it all worth it when Hudson said "it was the best Christmas decorations he had ever seen". I don't know why he said Christmas but at least he liked the decor!

Read more...

Party Decor Part 3

Thursday, April 21, 2011

If you missed them, check out Party Decor Part 1 and Party Decor Part 2.

I knew I wanted something fun and whimsy hanging for Hudson's party. I decided to make some tissue paper balls. They are SO easy and SUPER inexpensive to make. Plus, I love that you can make them out of any tissue paper color/design that you can find.
What you need to make these:

8 sheets of tissue per ball
Craft wire
scissors
invisible thread/string to hang them from the ceiling
(I also used little round hooks that screwed into the ceiling to hang 2 of them because tape was not working on them.)
Stack eight 20-by-30-inch sheets of tissue. Make 1 1/2-inch-wide accordion folds, creasing with each fold. You could cut the tissue paper smaller if you wanted your ball to be smaller. Varying sized ones would be super cute!


Fold an 18-inch piece of floral wire (or craft wire if that is all you have like me!) in half, and slip over center of folded tissue; twist. With scissors, trim ends of tissue into rounded or pointy shapes.Separate layers, pulling away from center one at a time.

I recommend almost doing one ball to just play with before you do the other 'real' ones. I did not do as good of a job with my first ball as the second. You finally get the hang of pulling each layer better by the time you finish one of them. I would also recommend tying something through your wire loop at this point before all of the layers are separated that way you don't smoosh them later trying to do this.

Bend wire into a loop to fit around napkin, and twist end around loop to secure.
(Photos with pink background found on Martha Stewart's website. See here.)

Good luck making these. They are so fun! Happy party time!

Read more...

Party Decor Part 2

Wednesday, April 20, 2011

****Don't forget to enter to win the book giveaway here....going on until Sunday 4/24.*****


Remember when I was showing you some circle garlands I made, well here is what I did with them:I had originally planned to hang them above the food table but it was a little much. So the best thing I know about parties, you have to improvise!!Some of you may recognize this banner from my little guy's bday last year here. I just removed the dinosaurs and added some fun artist themed pictures. I love being able to personalize the banner to go along with the theme of the party.
This is a birthday board that I think I saw at How Does She. The other side is a little more girly and this is the 'manly' side. I love being able to display this in advance to celebrate the big day. Anything like this is SO easy to do but makes a big difference to make a special day for the birthday child. When my kiddos get older, I think I will have members of the family write what they like best about that person and display it here along with some photos. You could also display birthday cards or pictures from past parties. Stay tuned for some more fun artist party posts.

Read more...

Party Decor Part 1

Wednesday, April 13, 2011

I wanted to have a bunch of fun decor above the food table at my son's artist party coming up. This is one of the things I am doing: circle garlands.

Take some invisible thread and some circles different sizes. Mine are about 1 inch, 1 1/4 inches and 1 1/2 inches. But it would be cute adding 2 inch or bigger too. I used my cricut to cut them out so it was SUPER fast.Then just come up with some sort of pattern or do a totally random one. I did big, small, medium, small, big, etc. I cut all of my circles of each size out in one color but you could mix and match or you could also just use 2 colors if you wanted.Then just put them lined up as you slowly sew them together. Try not to sew them over on top of one another.Here is the finished product. I love all the bright colors. I left the threads on one side longer so I could use them to attach it to the ceiling with. Soon, I will show you more pics of the finished product once they are hanging with the other decor too. Happy partying!!

Read more...

Party Time

Thursday, April 7, 2011

So you may remember my recent post about getting a KILLER DEAL on some graphics to use for my little guy's bday party here. I am going to be sharing some of the party fun with you over the next week or two. We delivered all the invites yesterday that I designed and I just thought I would share the artist's invite:

So obviously we are doing an artist theme for the party. I was out shopping for a bunch of the party goodies yesterday. I must say, I cannot wait! I might be just as excited for it as my little guy, who asks me every day if the party is today.

I have some fun cupcake toppers I have designed and a bunch of other fun birthday decor to share. Stay tuned. Have any of you ever done an artist party? Or are you planning another birthday party theme? Aren't birthdays the best??

Read more...

Dinosaur Egg Pinata

Monday, April 19, 2010


Have you seen my latest sponsor Borealis Sea Glass? She has beautiful jewelry made from genuine sea glass. She also has predrilled pieces for you to make your own too.
Did I mention it is gorgeous??!! But you should go check it all out for yourself here.

........................................................................................................................


So what is a birthday without a pinata?? I was running out of time so I couldn't do a dinosaur shape. It wouldn't have dried in time. I did the next best thing and did a dinosaur egg! Blow up a balloon and spray it with cooking oil to make it easier for it to pop and come away from the pinata once it has dried. (You can also use chicken wire to make the shape and cover it with the newspaper mache. But like I said, I didn't have time. Maybe I can feature that on another birthday when I start earlier!!) Rip strips of newspaper. Ripping allows it to lay flatter than cutting it does. I used about 1 inch by 6 inch pieces but no need to be exact.Then create the glue mixture. Use 2 parts water to 1 part flour. I usually would add a bit more flour too just to make it less runny. 2 cups water and 1 cup flour usually did about 2 layers for us. Dip a strip into the glue and then gently squeeze it off between your fingers like so. Thanks to my hubby for being the hand model.Lay the newspaper onto the balloon. I would do one layer of the newspaper going horizontally overlapping the pieces just a little to make sure the entire balloon was covered. Then I would do a layer going vertically. Then I let it dry overnight. I also used a small heater to help it dry faster because I was worried it wouldn't dry fast enough for what I needed. Here is what it looks like half dried and half not. Then I did 3 more layers and let it dry overnight again. So 5 layers of newspaper in all.Here it is all dried. I didn't get a great picture of the top. But once it dried, I popped the balloon. Then I spray painted it white and added brown spots to create more of a dinosaur egg look. Then I added the candy into the hole. I poked a small hole into the 'egg' on either side of the top and used a big needle to thread a double layer of twine into both sides so it could be tied to a board later. I took more newspaper and glue and covered the top and sort of put it around the hole with the twine to help reinforce it. After it dried, we put it into action. Pinatas are SO easy to make. Really...you should try one. The kids loved it and it was actually sort of therapeutic playing around with the glue!


***Don't forget to enter my giveaway going on now until Thursday!!

Read more...

Dino Party Hats

Wednesday, April 14, 2010

Here is a repeat of a blog swap I did over at The Country Chic Cottage here. I am reposting it on my blog for keepsake purposes.

If you haven't been following me this week, I am planning a dinosaur birthday party for my son. Today I am continuing on with my Dinosaur Party stuff for my little man, Hudson. He is turning 3 and he needed something to help him feel like the special birthday boy. Enter the freaky Spongebob party hat. Sorry to anyone who is into Spongebob. We just aren't in that stage yet and I am not really into characters. (I know, my poor kids!) Plus, Spongebob was the only party hats that Walmart had.
So I took apart the hat and laid it out as flat as I could get it. I found some fun scrapbook paper at the store to cover up Spongebob's shining face. Be sure to place the hat face down onto the backside of the paper to trace...otherwise it will be backwards and although it can be fixed, it does matter a little. (Yep, I did it the 'wrong' way that is how I know!!)Use a bit of spray adhesive and spray the face and the backside of the paper. Let it sit for a minute and adhere it together. I decided I wanted to add some dino bling to this so I took my png file and imported it into Make the Cut. It automatically traces the image right there in the program.
Then I cut it out with my Cricut.I took off the scrap of paper to reveal my cute little dino ready to be placed on the hat.
I used spray adhesive on the back of that and stuck it on like so. I decided it needed something a bit more birthday-ish too.
I grabbed some curling ribbon and added it to the top. I just got lazy and taped it inside in the pointy part. And like that, we go from Spongebob to Dinosaurs. I can't wait to see what Hudson thinks of it!

Host unlimited photos at slide.com for FREE!

Read more...

Dino Party {Part 3}

What would a birthday be without a birthday banner?? And since we are in dino mode we have to include some of those too...Start out with some cardstock in whatever colors you would like.I used white cardstock for the backing cut into fourths and the corners rounded with a punch.Then I distressed the edges of each of the "cards."
I used the Cricut and my Make the Cut program to use a font from my computer to cut out the letters. I think I used the font 'Elephants in Cherry Trees.' Where do they come up with these font names?? So anyway, since my cards are all 4.25 by 5.5 inches wide, I decided I wanted my letters to be about 4 inches tall. I just adjusted the height in Make the Cut. Did I mention how much I love my Cricut and Make the Cut? It was SO fast and SO easy to cut these out!
Then I glued the letters down onto the cards using spray adhesive. Smelly stuff but really fast and easy. I also used the dinosaurs I created here and cut them out on colored cardstock to add them to a few of the cards to spice the banner up a bit.
I used a hole punch to do two holes near the top of each card.I took some ribbon from my stash o' ribbon. Did I mention my friend got ALL of this for me at a Ribbon Outlet for around $3-4. Yeah, I am DYING to go there sometime. Too bad it's really far away. But it is on my list of places to go.I just weaved the ribbon into the holes on the letter cards and left enough of a string at the end to hang it with.

I had the hubby help me hang it up. I tied bows at the end of each strand. Just take the excess and do two rabbit ears and tie them together. Then your one end will be hooked on the letters and the other end is just hanging down.And like that, it is starting to feel like a dinosaur birthday is coming up!
Host unlimited photos at slide.com for FREE!
Linked up at:
Blue Cricket Design, The Thrifty Home, We are That Family,
A Soft Place, My Backyard Eden

Read more...
Related Posts with Thumbnails