


Dino Party {Part 3}
Wednesday, April 14, 2010
What would a birthday be without a birthday banner?? And since we are in dino mode we have to include some of those too... Start out with some cardstock in whatever colors you would like.
 I used white cardstock for the backing cut into fourths and the corners rounded with a punch.
 Then I distressed the edges of each of the "cards."
 I used the Cricut and my Make the Cut program to use a font from my computer to cut out the letters. I think I used the font 'Elephants in Cherry Trees.' Where do they come up with these font names?? So anyway, since my cards are all 4.25 by 5.5 inches wide, I decided I wanted my letters to be about 4 inches tall. I just adjusted the height in Make the Cut. Did I mention how much I love my Cricut and Make the Cut? It was SO fast and SO easy to cut these out!
 Then I glued the letters down onto the cards using spray adhesive. Smelly stuff but really fast and easy. I also used the dinosaurs I created here and cut them out on colored cardstock to add them to a few of the cards to spice the banner up a bit.
 I used a hole punch to do two holes near the top of each card.
 I took some ribbon from my stash o' ribbon. Did I mention my friend got ALL of this for me at a Ribbon Outlet for around $3-4. Yeah, I am DYING to go there sometime. Too bad it's really far away. But it is on my list of places to go.
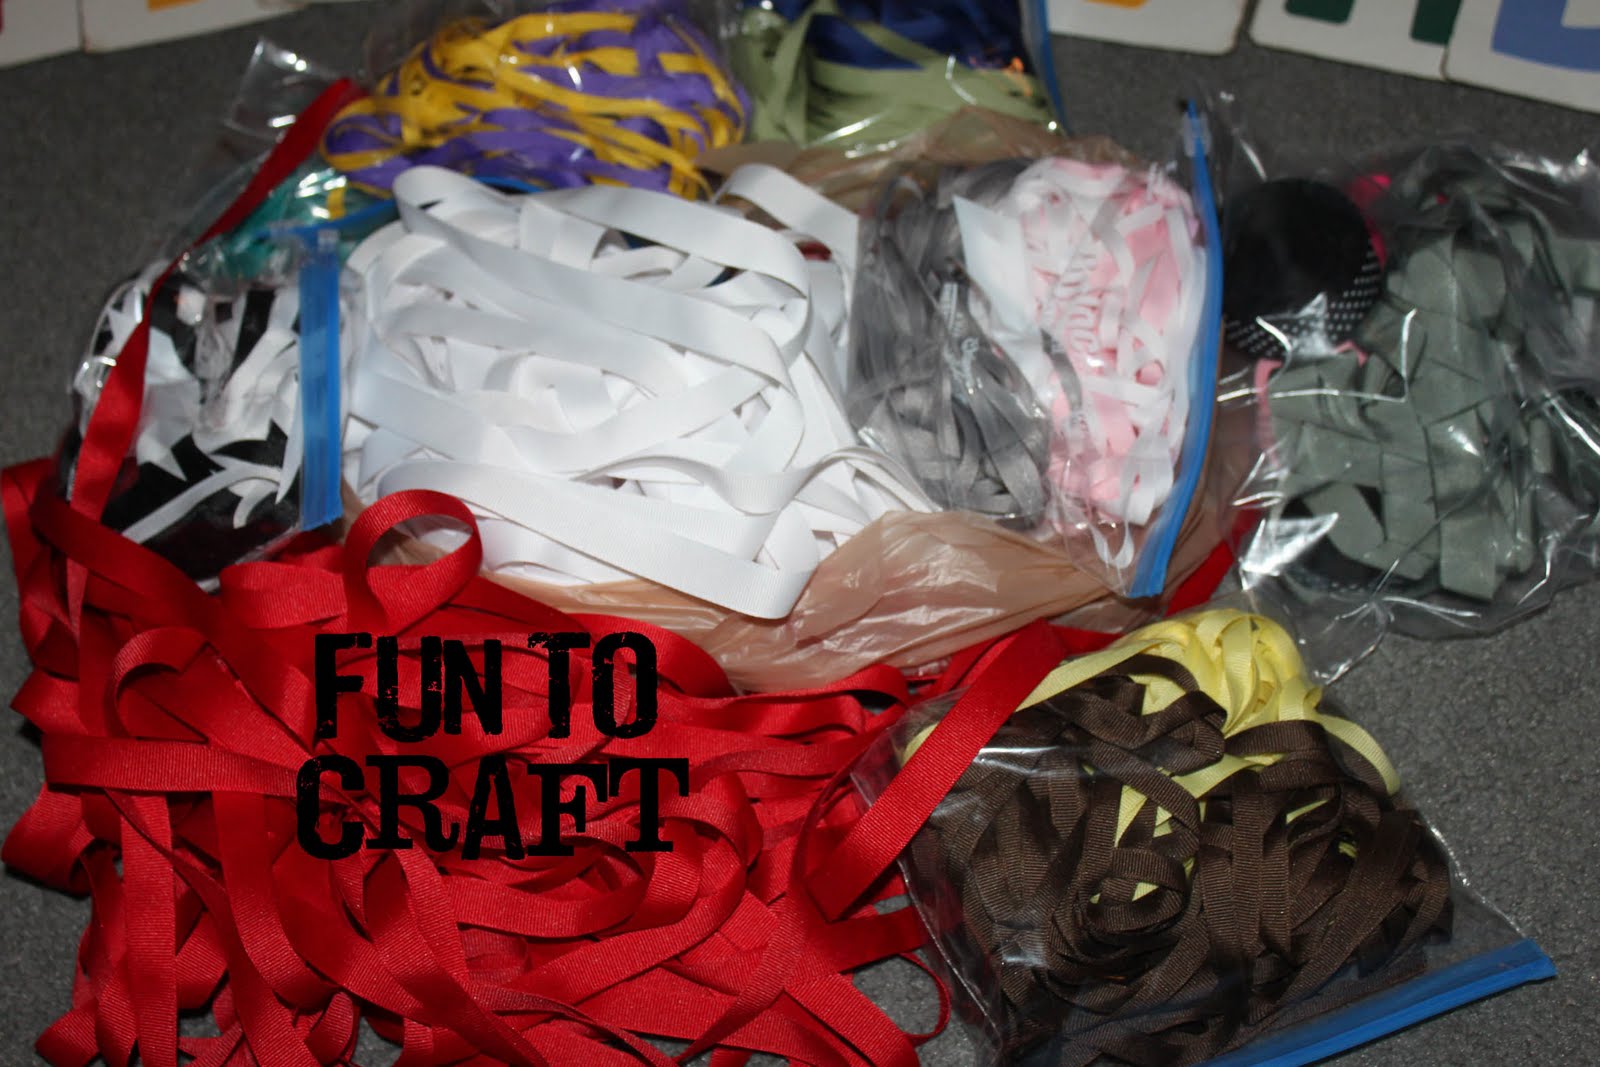 I just weaved the ribbon into the holes on the letter cards and left enough of a string at the end to hang it with.
 I had the hubby help me hang it up. I tied bows at the end of each strand. Just take the excess and do two rabbit ears and tie them together. Then your one end will be hooked on the letters and the other end is just hanging down.
 And like that, it is starting to feel like a dinosaur birthday is coming up!

Linked up at:
Blue Cricket Design, The Thrifty Home, We are That Family,
A Soft Place, My Backyard Eden


10 comments:
I passed a blog award on to your blog because it bring some sunshine to my day! www.craftedition.blogspot.com
cute...love how you connected the banner together.
I am digging the bright primary colors! And I wish I had a ribbon outlet, ribbon can be pricey.
I love it. I am a sucker for bright colors. (No pastel baby things for me :) I will have to do this when Asher turns three in October. I am doing spooky halloween costume party for the little kids; that we had to cancel last year due to everyone but us having swine flu. I have a bunch of really cute halloween paper to do this with. Thanks
I absolutely love the colors you chose!
I love your blog! I am joining you from UBP! penniesandthoughts.blogspot.com
Apsolutely LOVE it. It turned out so perfect!!
so....where is the ribbon outlet? You are so creative girl. Good luck with your move....'s!
Now that is so cute! I really need to get a Cricut!
Thanks for linking up to Make it Yours day! Enjoy the rest of your weekend!
Super, duper cute. I love the distress ink too, I surely need to add that to my supplies!
Post a Comment